You Spent $300 on a CPU Cooler and Your Case Is Still a Convection Oven
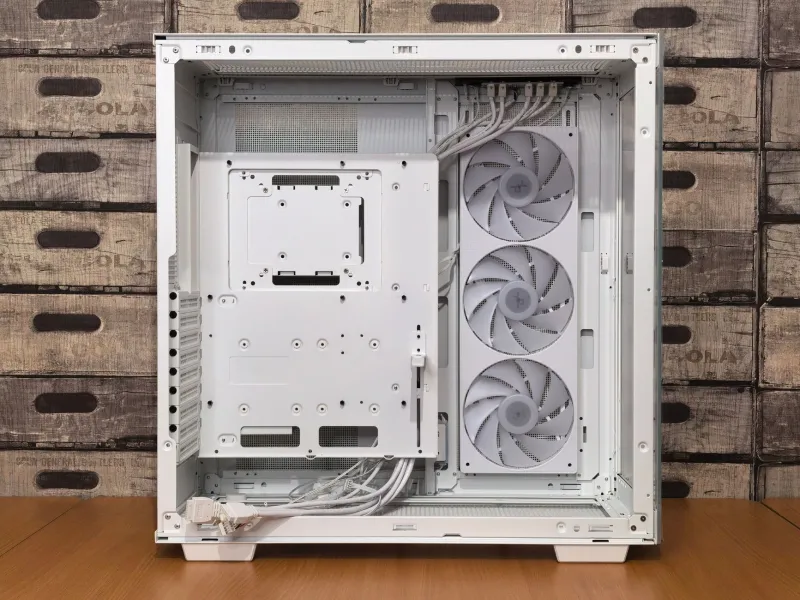
Let's paint a picture. You dropped serious money on a 360mm AIO liquid cooler. You've got a beefy GPU with triple fans. Your thermal paste application was, frankly, a work of art. And yet—your CPU is hitting 95°C under load, your GPU is throttling during the final boss fight, and your PC sounds like a Dyson vacuum having an existential crisis.
Congratulations. You've built a beautiful, expensive air fryer.
The culprit almost certainly isn't your hardware. It's the invisible stuff moving (or not moving) between your components: airflow. Specifically, the fact that most PC builders treat case ventilation as an afterthought—something to figure out after the "real" parts are installed. That mindset is silently strangling your rig's performance, and the fix costs you exactly nothing.
The Box You Ignored Has Physics Inside It
Here's the thing about air: it doesn't care about your build log or your cable management. It follows pressure gradients, rises when heated, and takes the path of least resistance—always. When you cram hot components into a sealed metal box and slap some fans on it without thinking, you're not "adding airflow." You're just making noise and hoping for the best.
There are two fundamental pressure states your case can operate in: positive pressure and negative pressure.
In a positive pressure setup, your intake fans push more air into the case than your exhaust fans pull out. The result? Air has to escape somewhere, and it exits through every little gap and unsealed slot in your chassis. The upside is that dust tends to get pushed out rather than sucked in through unfiltered crevices. The downside is that if your intake fans aren't strategically placed, you can end up pressurizing dead zones where hot air just... sits there, marinating your VRMs.
Negative pressure flips the script. More air is being pulled out than pushed in, which means your case is constantly gulping air from any available opening. Cooling can be aggressive and effective—but every unsealed gap becomes an unfiltered intake, and dust accumulation goes from "annoying" to "building a fur coat on your GPU" in about three months.
Neither is universally superior. Balance and direction are what matter.
The Classic Mistake: Fans Pointed Everywhere, Cooling Nothing
Open up a random mid-tower build and you'll often find something like this: two fans on the front blowing inward, one fan on the back blowing outward, a 240mm radiator on the top pulling air out, and a 120mm fan on the side panel pointed directly at the GPU—but also sort of at the RAM—and arguably at nothing useful.
This is what we at BananaPC lovingly call the Airflow Spaghetti Strategy: throw enough fans at the problem and hope some of it works. It doesn't.
Hot air rises. Your GPU and CPU are generating enormous amounts of it. The goal is to create a lane—a clear directional path that brings cool air in from the front and bottom, passes it over your heat-generating components, and exhausts it out the top and rear. Simple. Elegant. Devastatingly effective when done right.
When fans are fighting each other—one pulling air in a direction another is pushing—you create turbulence and dead spots. Turbulent air transfers heat poorly. Dead spots let hot air pool and recirculate. Both outcomes are terrible for your thermals.
How to Diagnose Your Airflow Without Spending a Dime
Before you buy a single additional fan, do this:
1. Run a stress test and log your temps. Use something like HWiNFO64 alongside a CPU stress tool and a GPU benchmark running simultaneously. Note where your temperatures peak and how quickly.
2. Hold your hand near your case vents. Seriously. Feel for airflow direction and strength at your intake and exhaust points. If you can barely feel anything moving, you've got a restriction problem.
3. Check your fan direction. Pull up your case, look at each fan, and confirm which way it's blowing. Fan blades push air in the direction they're angled—most fans have an arrow on the frame indicating airflow direction. You'd be amazed how many builds have at least one fan installed backwards.
4. Identify your dead zones. These are areas inside the case with no fans nearby and no natural airflow path. Common culprits: the bottom of a full tower, the area directly behind a shrouded PSU, and the space between a GPU and a front-mounted radiator.
The Free Fix: Rethink Your Fan Configuration
Once you've mapped your current setup, try this framework:
- Front and bottom = intake. Cool air enters here. If your case has a front mesh or vented bottom panel, exploit it.
- Top and rear = exhaust. Hot air exits here. Rear exhaust is especially critical—position it to pull air that's been warmed by your CPU cooler.
- Radiators on intake, not exhaust (usually). This is counterintuitive, but mounting your AIO radiator as a front intake means it's pulling in fresh ambient air rather than recirculating warm case air. There are exceptions depending on your case layout, but this is a solid default.
- Eliminate fan conflicts. Every fan should be working with the directional flow, not against it.
Simply flipping a fan or moving one from a side panel to the top exhaust can drop temperatures by 5–10°C in some builds. That's a meaningful, free performance gain.
When You Actually Do Need More Fans
Sometimes the case itself is the problem. Dense mesh fronts with poor filter designs, tiny exhaust openings, or cases with no bottom intake options can bottleneck even a perfect fan configuration. If you've optimized everything and you're still cooking, it might be worth considering a case with better inherent airflow design on your next upgrade cycle.
But before you spend anything, exhaust the free options first. Peel back the assumptions. Audit your configuration. The answer to your thermal problems is probably already inside your case—just pointed the wrong way.
Your components deserve better than a confused breeze. Give them a lane, and they'll reward you with the performance you actually paid for.